Complete Guide to Building a Telegram Bot [Part 1]
How I created my own Telebot!


Introduction
In this article, I will be going through the basics of creating a simple telegram bot. Building a telebot is a great project for aspiring programmers as it isn’t too complicated and it is also lots of fun!
In this telebot tutorial, having a basic understanding of python 3 will be extremely useful. All the code is written in python, but I will summarise the concepts for those who would just like to read more about its theory or for those who wish to build the bot in a different language.
Content Page
What are Telebots
Telegram Bots are one of the most popular platforms for creating chat bots. Chat bots can be used for various purposes, including but not limited to notifications about the latest news (webhooks), customer support for businesses to answer basic queries (increase savings!) or even used as a food picker when you are unsure of where to eat!
More specifically, some interesting telebots you can check out are @nushcatbot (for NUS freshmen to interact anonymously with other freshmen) or @werewolf moderator (to play werewolf with your friends). Some telebots can even be used in group chats! The functions of your telebot are as far as your imagination takes you! Let’s start by understanding the basics.
Using BotFather
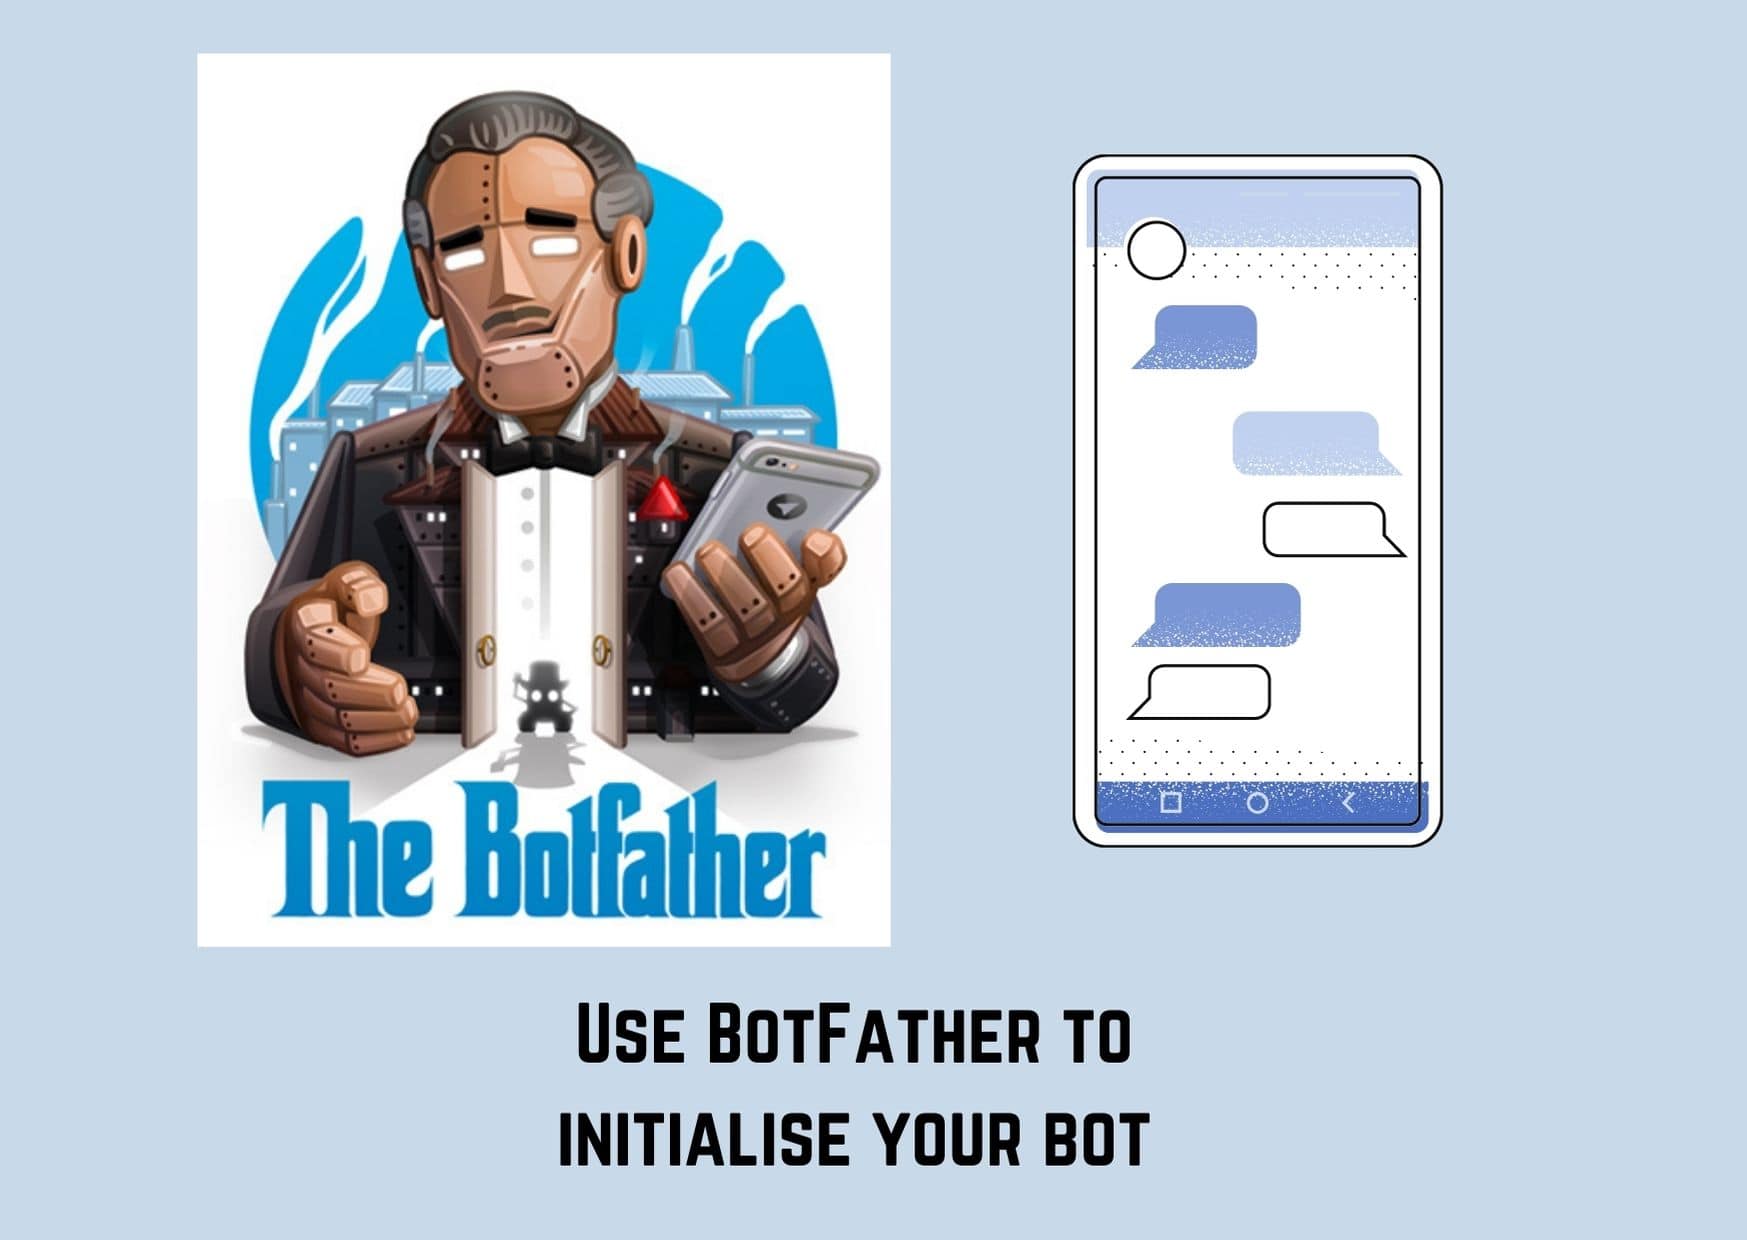
For starters, we have to create the shell of a bot that is functionless. Search @BotFather in your telegram search bar (this would require you to have an existing telegram account first) and engage with the bot by typing “/start” or clicking on the “start” button at the bottom.
The bot would return a list of all the functions that BotFather can execute. Click “/newbot” to create your new bot. Name your bot -- this will appear as the name in the chat list. Following, type in the username, this is how users can search for your bot in the search bar. It has to end with a ‘bot’, as such codingcucumbersbot.
Instantly, you will receive a message that contains your token. Keep it secure as it can be used to control your bot! It is unique to your bot and we will be using it later on in this article. And that is it! You have just built an empty bot! You can actually search it up in the telegram search box.
Configure Your Bot
While we are at it, let’s go through some of the other BotFather commands that you can use to personalise your bot to your liking.
Customise
- “/mybots” command is used to edit your existing bots, which is the first thing you should do to enable the editing of your bots. BotFather will prompt you to select the specific bot.
- “/setdescription” command is used to edit the description of the bot, this text is seen in the background when users first click into the bot.
- “/setabouttext” command is used to edit the about info of the bot, this is the text found under the info section when you click into the bot header.
- “/setuserpic” command is used to edit the profile picture of the bot.
How Do Telebots Work
By sending HTTP requests to the web, we can control how the telegram bot functions. We have to build different URLs to instruct the bot to carry out various features. One such feature is to view the status of your bot -- send this URL in any browser:
https://api.telegram.org/bot{token}/getme
{token} is replaced by the token of your bot.
What the URL means is that you are interacting with telegram’s api (api.telegram.org/), you are specifically communicating with your bot (bot{token}/) and the command (getme) is to return some basic information about the bot
The return data, as seen in the browser, is a simple JSON body. JSON refers to Javascript Object Notation and it is how users/ bots communicate over the web. Data is stored in a JSON body and sent over the web that is also readable by humans. Notice how its structure is strikingly similar to a python dictionary!
This is how the return JSON body should look like once you have sent that above URL:
{"ok":true,"result":{"id":xxxxxxx,"first_name":"testing","username":”testbot"}}
For every message that is sent to your bot, you can use this URL to retrieve the message:
https://api.telegram.org/bot{token}/getUpdates
The “/getUpdates” command returns a JSON response of all the messages that have been sent to your bot. Test that this is working by sending a simple “hello world” message to your telebot. The response in your browser should look something like this:
{"ok":true,"result":[{"update_id":xxxxxxx, "message":{"message_id":1,"from":{"id":xxxxxxx,
"first_name":"Bryan","last_name":"Ho","username":"koolkid"},"chat":{"id":xxxxxxx,
"first_name":"Bryan","last_name":"Ho","username":"koolkid","type":"private"},
"date":1478087624,"text":"hello world"}}]}
Chat id is a unique number that identifies the user who sent the message to the telebot. In order to send a message back to the same user, we need to use the same unique chat id. Update id is another unique number to keep track of the order in which messages come in to know which is the latest message. The latest update id has the largest number. Date is in epoch time, click here to convert the datetime to human readable form. Text is the message that the user sent, we can use this message to trigger specific replies.
The “/sendMessage” command is used to send a message from the bot to the user. The URL is as follows:
https://api.telegram.org/bot{token}/sendMessage?chat_id={chat-id}&text=Hey!
The command “/sendMessage” takes in 2 arguments, “chat_id” and “text” which is used to direct the text to the target user. This is indicated by the ? after the command sendMessage, signposting that following the ? are the url parameters. Try this URL out and the message “Hey!” should appear in your conversation with the telebot. Congratulations, you have just sent your first message as a telebot!
Conclusion
I hope this first article of 3 has succinctly summarised what a telegram bot is and how it can be used to carry out various functions. In the second part of this step-by-step guide, I will be going through building functions using python. If you thought this article was useful, feel free to connect with us below! It really means a lot to us. Stay cool Cucumbers!